How To Install Postgres On WSL2 Along With pgAdmin
In this post, we’ll take a look at a beginner friendly way of setting up Postgres (PostgreSQL) on WSL2 running Ubuntu. Furthermore, we’re going to go through the process of adding new users and giving them privilages to certain databases.
In case you’re not familiar with WSL2 (Windows Subsystem for Linux), it’s basically a Linux console running on Windows. Additionally, many of us prefer using it, rather than Windows, since it performs faster. I also used it for other projects, which you can check out on my other posts.
Postgres is one of the most popular systems for working with databases among professional developers. We’ll also setup pgAdmin, which is an administration and development platform for PostgreSQL.
Installing Postgres on WSL2
Okay, for the first part of this guide, we’re going to update the package index files on the system, which contains information about available packages. Reason for this is, so we can install the latest version of Postgres available.
sudo apt-get updateNow, that we got that out of the way, we can proceed and install postgres using the following command.
sudo apt-get -y install postgresql postgresql-contribFor the last step in this setup process, we’re going to start the PostgreSQL server and configure postgres user password. Once we’re done with that, we can log in to PostgreSQL with the default admin username postgres and password, we just set.
sudo service postgresql start
sudo -u postgres psql
After we use the second command above, we’ll be able to set the password to the postgres user. It will also log us into PostgreSQL, which we’ll be able to tell by the ‘postgres=#‘ at the beginning of the command line.
Next, we set the password by using the following line. Also keep in mind that you should probably set a better password than ‘password’.
ALTER USER postgres PASSWORD 'password';Okay, with that, we’re done with the Postgres setup process on WSL2, so we can exit the PostgreSQL with the following command:
\qCreating new users
In order to add new users to the PostgreSQL, we need to log into the system. Since there is only the default user postgres, we log in with that.
psql -U postgres -h localhostTo see, how many users are currently registered in the system, we can type in the following command.
\du
In the next step, we’re going to add a new user and set password for it in the same line.
CREATE USER newuser WITH CREATEDB LOGIN ENCRYPTED PASSWORD 'newpassword';After you create a user, we also need to create a database with the same name to store data about it.
CREATE DATABASE newuser;In order to give this user privilages to work with a specific database, we need to specify what the priviliges are, and to which database to give them.
GRANT ALL PRIVILEGES ON DATABASE database_name TO newuser;That’s it! Now we can log in with the new user and work on the database, which we specified above.
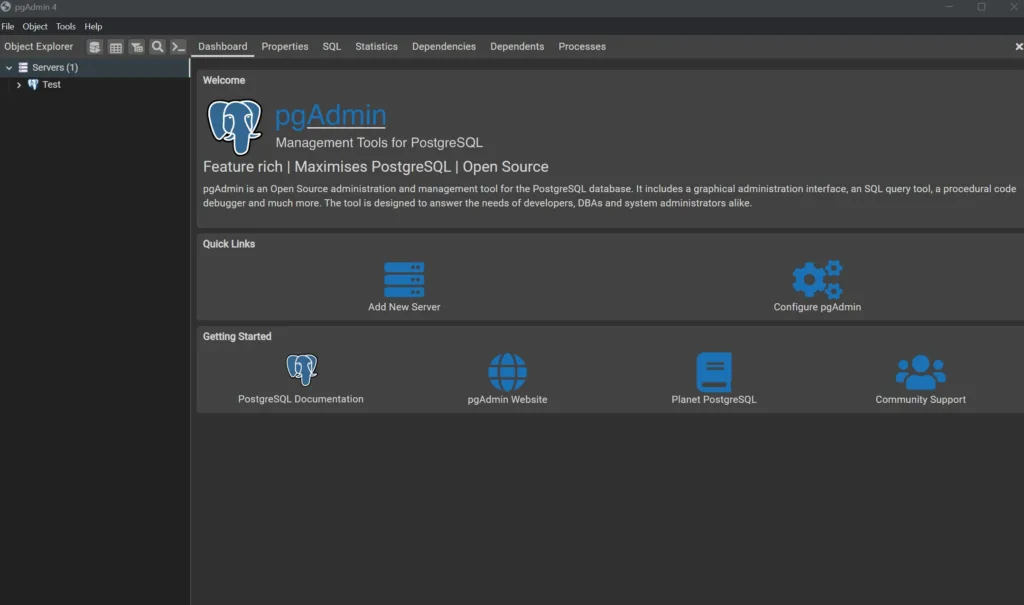
Installing pgAdmin
In order to install pgAdmin, we can just download its installer and install it on Windows. Once you install it, make sure that you have the Postgres server running with sudo service postgresql start.
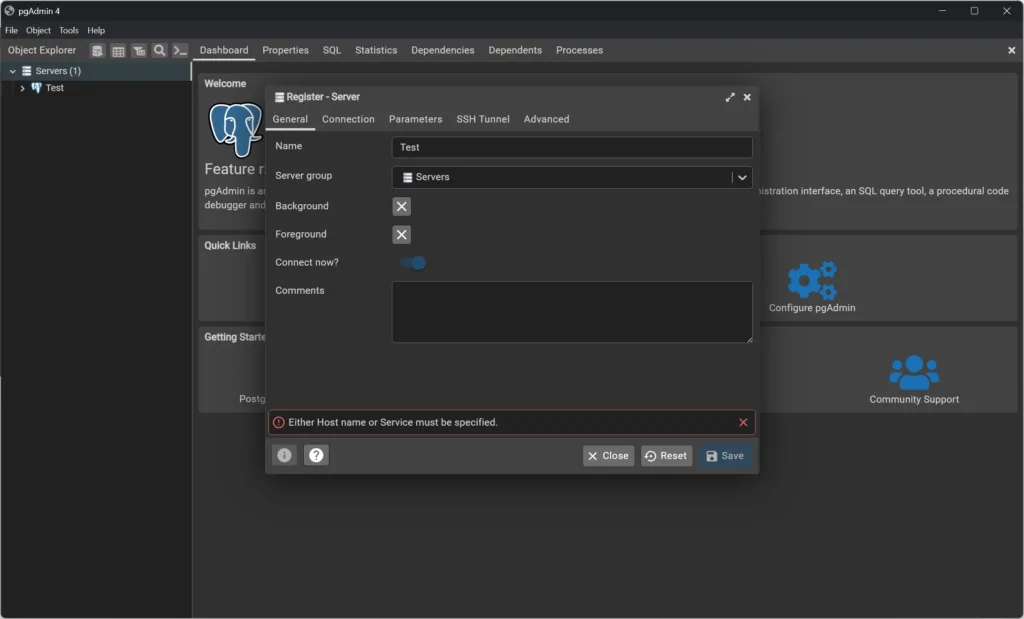
Next, you can go ahead and launch the pgAdmin and create a new server by clicking on the Add New Server link.
Then, a window will pop up, where you’ll set the name of the server under General tab.
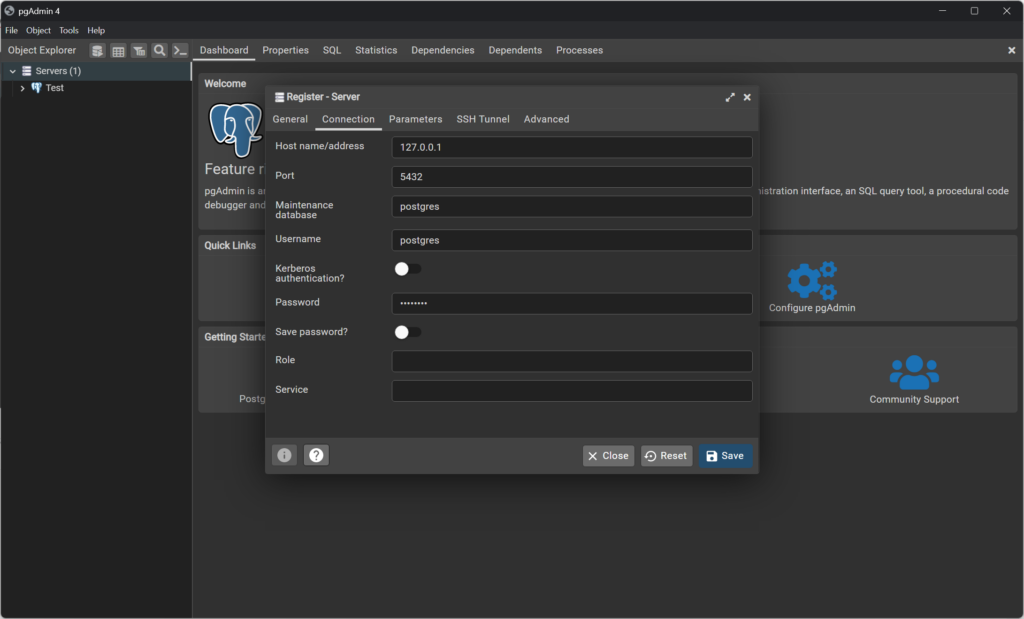
And the last thing you need to set up is the address of the server under the Connection tab, in this case 127.0.0.1 or localhost. And also, don’t forget to input the password of the user, which in this case, is for the postgres.
All done!
Conclusion
To conclude, we just set up Postgres on WSL2, add new user to it, and set up pgAdmin platform. I learned a lot when working on this setup and I hope this guide proves useful to you as well.